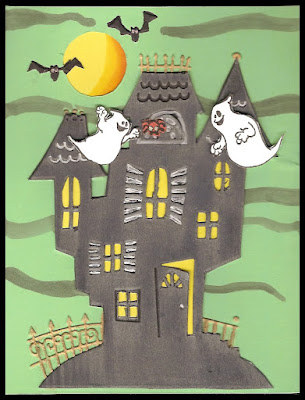
 This time I used a green background and put yellow behind the windows. I added some "mist" to the sky and put a spider in the upstairs window.
Which do you like best? Please leave a comment and let me know.
Happy Haunting....
 This time I used a green background and put yellow behind the windows. I added some "mist" to the sky and put a spider in the upstairs window.
 I hope you had a restful weekend. One of my favorite holidays is coming. Can you guess what it is? If you guessed Halloween, you are absolutely right. My husband and I usually dress up to hand out candy to the little trick or treaters, although I don't think that's going to happen this year. We have also been known to attend a party or two (and even win prizes), but that's not going to happen either. We have made some pretty elaborate costumes over the years, and always enjoy it.
All in all, I like the way this turned out. I think I might make one with a bright green sky background and see how that looks.
I hope you have enjoyed the card today. If you have a halloween card to share, please post a link in the comment section.
I have added some more cards to the gallery at My Paper Moon. I hope you have some time to take a look and let me know what you think. If you have any cards that use My Paper Moon stamps and would like to see them in the gallery, please email me or post a link in the comment section. I'd like to see them, too.
Have a great week!

I am having internet issues, so I will go ahead and get on with today's card. I like this card because you can cut 3 from a 12 x 12 piece of cardstock, and the finished card fits in a #10 envelope.
Anyway, to get started, you will need a piece of cardstock cut 4" x 12". I used a color that coordinated with the background paper I was going to use. On the 12" side, go in 3" and score so that you can fold the flap over. (This is the part that "To A Very Special Friend" is attached to.) Next I cut a piece of light olive cardstock 8-3/4" x 3-3/4" and adhered it to the base cardstock. I cut a piece of coral cardstock 8-1/2" x 3-1/2" and adhered to the olive cardstock.
Using the same patterned paper, I put a piece onto the coral cardstock.
I brushed white gesso on a piece of white cardstock, and left brush marks. While this was still wet, I applied pearl-ex in a gold and interference green to give it some shine. The texture is great, also.
Then I stamped the birds on a limb (Inkadinkadoo) with black permanent ink and trimmed the cardstock. I used a needle to punch holes in the ends of the cardstock, and ran a black inkpad around the edges, then adhered to the patterned paper.
When you are finished with the card, there is room to open the flap and write a note to the recipient.
I hope I have inspired you to create something this week. If you do, please post a link in the comment section. Happy Crafting!

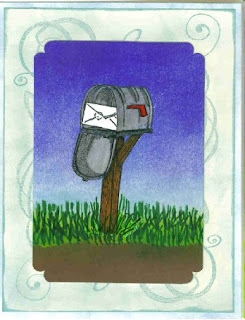
 I sponged a light blue onto the background cardstock (with the swirls). I sponged the sky and also the grass. I used a green marker to draw in the distinct blades of grass.
Methods of use:
Stamping tips:
I hope you can use some of these tips. You can leave a link under the comment section on this blog.
Have a great week!
 Good morning and welcome to another Over The Moon Monday. I hope you had a great weekend. Did you do anything fun? Just leave a comment and let us know!
Supplies you will need:
 To begin with, you will need to get out your striped paper. You will need more than the standard 4-1/4 x 5-1/2 because you are going to turn the paper at an angle to cut the first set of strips. You can cut these strips as wide as you want. I chose to cut mine about 3/4". After you cut 3 or 4 strips (depending on the width of the strips you cut), turn your paper 90 degrees and cut 3 or 4 more strips. As you can see on my first attempt at this technique, I didn't get my paper turned a whole 90 degrees, but I like the effect anyway.
Now you will adhere your first strip of paper to the cardstock base. Next pick a piece of the paper that was cut on a 90 degree angle and adhere it next to your first strip. Now pick up a strip like the first one and adhere it, so that you form an alternating pattern with the strips.
When you are finished, trim off any excess paper that is hanging over the edges, and adhere to your card. You could change the degree you turn the paper, creating different looks.
Now you are ready to finish your card using an image of your choice.
Share your creations with us by posting a link...and enjoy the rest of your week!