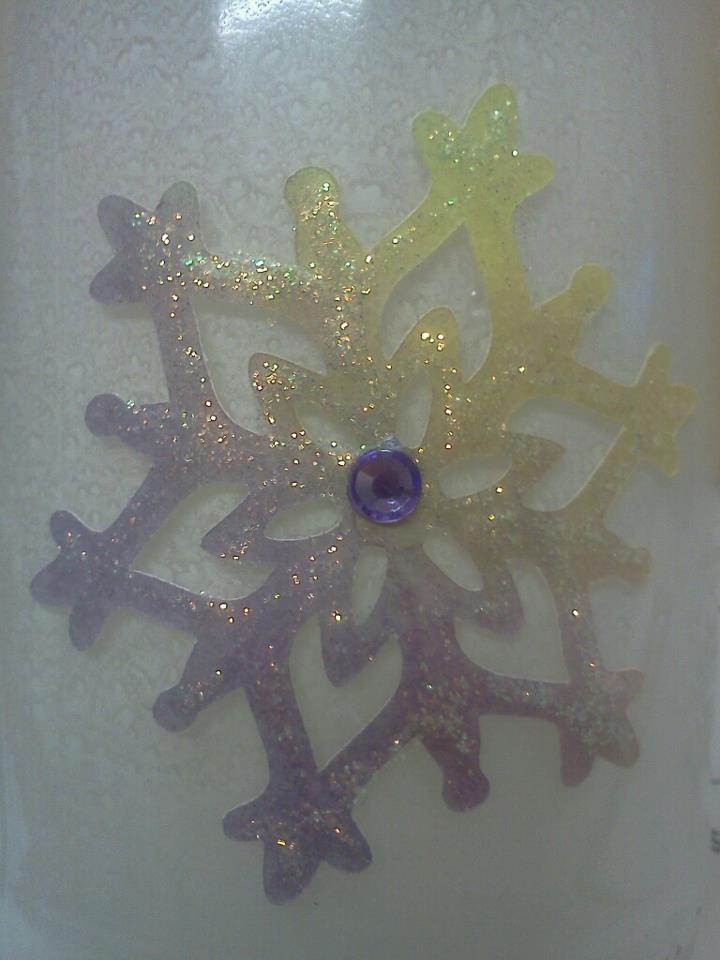
I did want to share with you my Christmas card this year. If you remember, last year I made a card featuring 3 French hens:
Thursday, January 11, 2018
Christmas cards
I did want to share with you my Christmas card this year. If you remember, last year I made a card featuring 3 French hens:
Monday, November 14, 2016
Hug a Child's Heart - Literally
Re-printed with my friend, Donna's, permission:
HUG A CHILD'S HEART - LITERALLY!
There are many card drives during the holidays and throughout the year.
"HUG A HEART" CARDS DRIVE FOR CHILDREN
Our Blogging Buddy Christina Hor Memories Crafter has a very special Mission.
Christina tries to give parents of terminally ill children in the cardiac unit encouragement cards during the long process of procedures and care. If the saddest moment of loss happens, she provides a heartfelt sympathy card to the parents at the loss of their sweet baby or dear child.
Especially during Christmas she strives to deliver holiday cards.
This year, Christina and her children are creating mini 3D Christmas trees for each room in the intensive care and inpatient wings.
Would you like to create a simple, sweetly-appropriate children's Christmas card for those pediatric cardiac patients who will have to spend the holidays in the hospital?
- use kid's friendly images. Kids love anything that is cute, cuddly and funny such as teddy bears, woodland creatures, reindeer, penguins as well snowman. Just to name a few.
- keep it clean with minimum embellishments. However, shaker cards and pop-up cards are welcome. So if you like making one of these cards and you know who you are, please do! But please make sure to use strong adhesive to ensure that none of the shaker/embellishment pieces fall out.
- consider keeping your theme more of a: winter scene, "thinking of you" as well just a general "holiday" theme since not all of them celebrate Christmas. Some celebrate Hanukkah, Bodhi Day, Pancha Ganapati and some just don't celebrate the holiday at all. So avoid using sentiment like "Merry Christmas" on your card.
(only use your own name, of course LOL)
Thursday, November 20, 2014
Fleece Navibaa....
Anyway, here are a couple of cards from the set Fleece Navibaa....
Tuesday, November 18, 2014
Christmas Card Crunch Time
Thursday, December 5, 2013
Christmas Cards
Thursday, January 17, 2013
Christmas Luminary
Anyway, I made some of my luminaries for Christmas, and wanted to show them to you before I put them away until next year.
Friday, December 9, 2011
Christmas Tag #5
I used some background cardstock I had, then stamped the tall trees, and embossed with clear embossing powder. They weren't very vivid, so I colored them with permanent markers. I added some sheer silver ribbon, the JOY letters, some holly and some snowflakes.
I hope you have enjoyed seeing the tags I've made for my loved ones for Christmas, and maybe gotten a little inspiration along the way.
I hope you have a very merry Christmas.
Thursday, December 8, 2011
Christmas Tag #4
I cut the Christmas trees from some paper I had, then added dimensional glaze. I used the same music stamp I used in some of the other tags, and the Martha Stewart snowflake punch. The JOY letters are from TAC stamps. I embellished the snowflakes with jewels and glitter glue, and smeared some gold metallic acrylic paint on the side of the tag to give it some texture.
Hope you enjoyed this tag. Tomorrow I will share the last tag.
Christmas Tag #3
This tag is for Emilie, who is 8. I used the Christmas Ornaments embossing folder, then layered the different elements. It created a fun tag that she'll like.
Stay tuned tomorrow for Tag #4.
Wednesday, December 7, 2011
Christmas Tag #2
Rachel is in chorus in high school, so I chose a musical theme for her tag. I used the music notes embossing folder, embossed the background with gold and sanded off the notes so they retained their natural color. I stamped the JOY using TAC stamps, colored with copics, cut out and added dimensional glaze. I stamped the music score, cut out, distressed the edges and added a paper flower that was colored with copics. The name I used some EK Success stamps, colored with markers, punched out and added dimensional glaze. Hope you like this one, too.
Tuesday, December 6, 2011
Christmas Tag #1
Monday, December 21, 2009
My Holiday Gift for You

Over The Moon Monday - Challenge
Good morning! The kids are out of school here, and preparations are almost done for Christmas, but I wanted to leave you with 1 more Christmas offering. And if you don't have any time to play right now, perhaps you could use the idea for a Valentine. Just tweak it a bit to fit the occasion. Tags are very popular right now, with Tim Holtz doing his 12 Tags of Christmas, and I have seen other websites that are doing the same, so I thought it would be fun to do a tag.
For those of you who know me personally, you know I should be the Grunge Queen, because I don't shy away from getting my hands dirty.
For this tag, I spritzed on brown and pink inks, using a paper towel to smoosh them around. Then I used some drywall tape and gesso to add some texture. It still needed a little something for texture, so I used gold acrylic paint with the drywall tape. Then I spritzed the whole thing with gold.
I stamped the Christmas tree onto watercolor paper, then used markers diluted with water to paint it. When it was dry, I carefully cut it out and adhered it to the card. I used stickles to add glitter to the tree and star.
I stamped "Noel" onto the tag, then went over it with a black copic marker, to give it more definition. I also used green stickles to go over the letters to give it more oomph!
I punched out some pink snowflakes, adhered to the tag and then colored with stickles, and added some faux stitching around the edge of the card. I tied a gold ribbon and viola, I was done. The tag is grungy, but also feminine with the pink colors.
I challenge you to use a tag in your art. When you do, please leave a link in the comment section so we can see your artwork.
With the Christmas holiday I may not have a post for next week. Have a blessed Christmas.
Monday, December 14, 2009
Over The Moon Monday
Good morning and welcome to Over The Moon Monday. I can't believe the weather here in Florida. It's less than 2 weeks from Christmas, and it's still in the 80's. We truly need some cooler weather.I did get some Christmas shopping done. We are only buying for the granddaughters this year, as their dad has been out of work for over 6 months, and money is tight. We try to help them out all we can, so money is tight for us, too. But the girls will be taken care of.
I had the opportunity to work on another Herringbone card (I shared an ATC previously), and wanted to share it with you. I love the look of these cards, each one has a different look, depending on the patterned papers you use. And it's surprisingly easy to achieve.
This week I wanted to work with the Layered Star stamp from My Paper Moon. This is a very versatile stamp, as you can see below.


I stamped the image onto the green, pink and red patterned paper and adhered to cardstock. I stamped the image also onto green solid paper and red solid paper. I cut out the triangles from the green cardstock and adhered to the patterned paper. Then I cut the red triangles out and used pop dots to adhere them over the green triangles. I then cut out the red star medallion from the inside of the image, and adhered it with pop dots to the center. I cut out the small green star and the small red star from the very center, and adhered them with adhesive.
I can make another and adhere it to the back, punch a hole, thread some pretty ribbon and use as an ornament for my tree, or I can adhere to a card and send to a friend. Wouldn't these look beautiful with different Christmas patterned paper and used as Christmas ornaments?
Here are some of the ways you can use this stamp:
Just by cutting the stamped image apart and using pop dots, or making cuts and folds, you can totally change the look of this image. I apologize for the smallness of this image, but it was resized for the website. I hope you have a wonderful week.
Saturday, December 13, 2008
Santa Tag
I colored a tag with light blue dye ink, then covered my brayer with magic mesh and rolled it through some gesso, which I then rolled over the tag. You can't see it very well from the scan, but it's definately there. Then I stamped snowflakes randomly on the tag and applied icicle stickles. While that was drying, I distressed some stickers with blue dye ink, and applied them to acetate that I had cut to the size of the tag. Then I wrote "from Santa" with a permanent marker. I punched a snowflake from light blue paper and applied it to the acetate, then punched the hole where it was supposed to be. I applied blue stickles to the snowflake and let dry. When it was dry, I layered the acetate over the tag, threaded blue ribbon and viola....it's done. It's very sparkly in real life.My legs are about to fall off. We spent most of the day walking through the flea market and another store, then this evening we walked through Sam's Club, and now I'm tired. I think I'm going to take a shower, and prop my feet up and read awhile before bed.
I hope you have a great weekend!
Tuesday, August 12, 2008
Christmas Cards
Yeah, I know it's only August, but I figured if I worked on my Christmas cards, I would be cooler. So, here is one of the Christmas cards I will be sending out this year.This is a Joy Fold card, and the dimensions and instructions can be found in the newsletter archives at Splitcoaststampers. The poinsettia was colored with copic markers, and there is gold glitter in the center. The background for the poinsettia is a polished stone technique and has gold running through it. I liked the fact that I could use 2 different Christmas patterned papers and it still looks good.
This is a fun technique, and I've already used it several times.
Hope you are having a crafty day!
Monday, December 24, 2007
Saturday, December 1, 2007
More Christmas
So, I got busy, and made 10 more, but I still have a few more to make to have enough for MY list. And hubby hasn't given me HIS list yet!
Anyway, I thought I'd share a few more cards for inspiration.

This card is a matchbook card.I really like to make these cards, and they are soooooo easy!
I liked the look of this card....very soothing with the blues and purples. In case you didn't know it, blue is my favorite color.

And a snowman card. I love snowmen! This is another matchbook card. The scan doesn't snow it, but there are also white snowflakes stamped along with the blue ones.
I hope you have gotten some inspiration today, and I hope you get some crafting done.
I have a busy weekend ahead...making more Christmas cards, going to dinner with my daughter and her family, and tomorrow we'll be going to the cemetary to put the Christmas flowers on my parent's graves.
Friday, November 9, 2007
My Travel Card
As promised, I'm trying to update my blog more often. Today I want to share a card I made. I'm not good at collage, but I'm trying to force myself to do it more often, so I become better at it.

I tried to use background stamps that would add texture to the card without it being too lumpy. You know how the post office hates lumpy letters! Anyway, let me know what you think....
It's been so cool for the last week, and I'm loving this weather. I wouldn't mind if it stayed like this year round. We've had lows in the 60's at night, and highs in the 70's during the day. Just about perfect, don't you think?
In upcoming posts I will share some of the Christmas cards I've made. I get bored easily, and making the same card over and over and over is just not my cup of tea. So, at the beginning of the year I challenged myself to make 5 cards a month, so by December I would have 60 cards, right? I decided each month I would make the 5 cards the same, but each month would be a different card. I was doing really well, and some months the creativity was there and I would make more than the 5 I was supposed to make. I was really chugging right along. Then I got a note from Soldiers' Angels that they were going to try to send 140,000 cards to the troops for Christmas. Now, I have a soft spot in my heart for the soldiers, since my step-son is among those deployed in Iraq. So, I got busy and made Christmas cards like crazy. You would have thought I was Santa's Elf on deadline. Yesterday I mailed 140 cards. And....I still have about 20 to send to my close friends and relatives that enjoy my handcrafted cards.
Now, here's the best part. I sent a note to my granddaughter's 5th grade teacher asking if they would like to make cards, too, and I would furnish the supplies. The teacher (who's husband is also overseas) thought it would be a good project for their "Caring for Others" module, but she's going to take it a step further and see if the whole elementary school can participate. That's 750 cards! Wowsa! I'm excited!
Talk to you again, soon!
Tuesday, December 26, 2006
Whew!

I feel just like this polar bear...whew!
I had a wonderful Christmas, how about you? I got something I've been wanting for a long time...a Scor-It Board! Can't wait to make some cards with it. And, my sweetie got me a circle of love necklace. Awwww.... I would have been completely happy with no gifts at all....I got to spend money on my 2 sweeties, Rachel and Emilie, and they had a wonderful Christmas. I think they got everything they wanted except the Butterscotch Pony. So, they had a good Christmas, which means I had a good Christmas.
Scott fixed dinner for us all...we had prime rib, rolls, greek salad, and presley made deviled eggs and his mom brought green bean casserole.
I got signed up on My Space, so I can keep in touch with my family, who is spread out all over the country. If you want to take a look, the url is www.myspace.com/mypapermoon.
We'll be spending New Years in Savannah. Woohoo!
Talk to you again, soon...