Here is the last card I made:
Again, I am using up stuff I've had for years. Ribbons, buttons, brads, chipboard, gemstones, paper. These have all been fun to make. I made ATC's of miniature valentines to leave for waitresses, cashiers, etc. I have gotten great results from previous ATC's I've made and passed out, so I'm sure these will be received well also.
I hope you have a great Valentine's day!
Thursday, February 14, 2013
Valentine's - part 4
Tuesday, February 12, 2013
Valentine's - part 3
Here is the third Valentine I made:
This one uses ribbon, feathers, brads, and Romeo and Juliet background paper. It's a great way to use up some of your older stuff you have stashed away. My hubby will like this one. :-)
Monday, February 11, 2013
Valentine's - part 2
Here is the next Valentine I made:
I used scrap metallic trim, buttons, stickers, flowers, charms, stamps, feathers, and paper doilies to make this card.
The background paper is from Romeo and Juliet, so it was appropriate to the card. The tiny hearts on the flower centers are stickers, and the key ring and heart lock are charms I had stashed away.
Very easy. Hope you enjoy.
Saturday, February 9, 2013
Valentines - part 1
Just wanted to quickly share the Valentine's I'm making this year.
I used a piece of paper from a catalog (the purple butterflies, hearts and swirls), and added white dots (the Technique Junkies bandana technique). I layered it on the purple background card base. I cut a purple heart (here it doesn't look as purple as it does, because of the gemstones that are holding it off the scanner glass). I put a To My Valentine sticker on the heart and outlined it with gemstones. I stamped and punched the white "will you be my valentine" and punched it out. I put a white heart brad in the center and layered it on a scalloped piece of scrap paper that I punched. I put a lace sticker on the inside of the card and called it done.
I like saving junk mail (in this case the catalog page) and using it in my artwork.
Have a stamp happy day!
I used a piece of paper from a catalog (the purple butterflies, hearts and swirls), and added white dots (the Technique Junkies bandana technique). I layered it on the purple background card base. I cut a purple heart (here it doesn't look as purple as it does, because of the gemstones that are holding it off the scanner glass). I put a To My Valentine sticker on the heart and outlined it with gemstones. I stamped and punched the white "will you be my valentine" and punched it out. I put a white heart brad in the center and layered it on a scalloped piece of scrap paper that I punched. I put a lace sticker on the inside of the card and called it done.
I like saving junk mail (in this case the catalog page) and using it in my artwork.
Have a stamp happy day!
Friday, February 8, 2013
Free Stamp
Good morning!
There are a lot of you folks out there who are unaware of the high quality stamps that are available from My Paper Moon. So I decided to give you a test drive. If you send me a self-addressed, stamped (postage stamp) envelope, I will be happy to send you a free stamp (my choice) and a coupon for free shipping on your first order. You will need to send it to:
I'll get your free stamp and coupon in the mail by return post.
Happy stamping
There are a lot of you folks out there who are unaware of the high quality stamps that are available from My Paper Moon. So I decided to give you a test drive. If you send me a self-addressed, stamped (postage stamp) envelope, I will be happy to send you a free stamp (my choice) and a coupon for free shipping on your first order. You will need to send it to:
My Paper Moon
421 Kumquat Avenue
Sebastian, FL 32958
I'll get your free stamp and coupon in the mail by return post.
Happy stamping
Tuesday, January 22, 2013
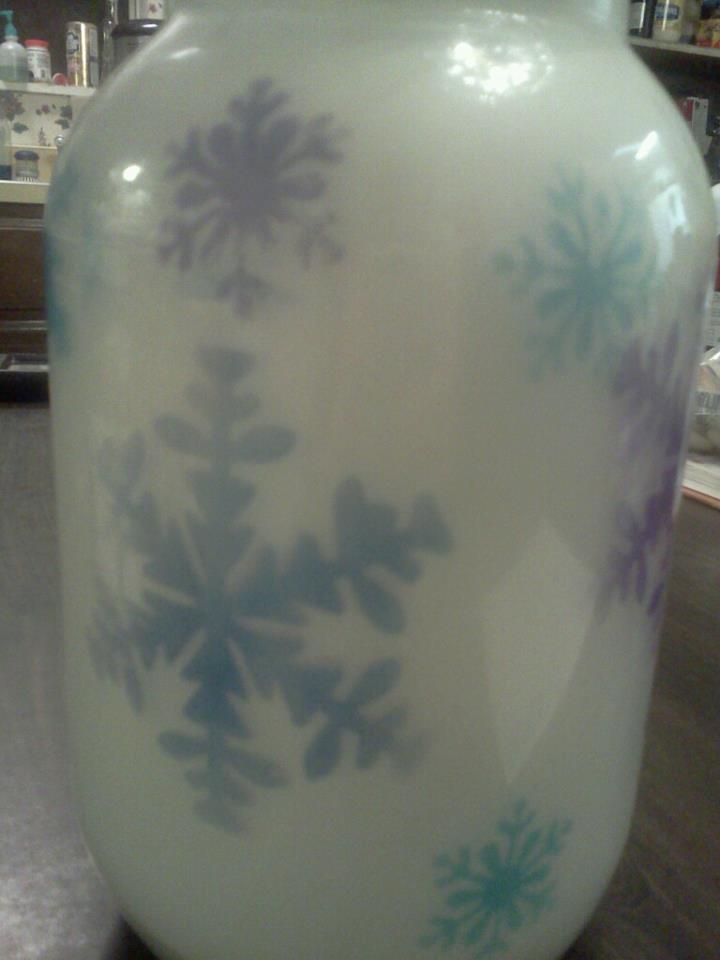
Last Winter Luminary
This is my last winter luminary. I did this one a little different than the others. My husband likes it best, but I'm not sure yet. Anyway, it was super easy to do. I'm seeing Valentines or Shamrocks for the next one. How about you? A valentine one with hearts would be romantic with a nice dinner for your love.
Anyway, I coated with inside of my jar with watered down white acrylic paint. Then I punched out snowflakes so I could use the larger negative piece for a template. I used Staz-On ink in blue and purple and sponged on the ink through the template so I could get the snowflakes. Let dry well. I wiped the jars with a damp cloth after they were dry, and the staz-on stayed.
I think red, pink and purple hearts sponged on the white jar would be pretty. Or you could use a watered down red acrylic paint for the inside and sponge white hearts on the outside.
Hope this has inspired you to make your own luminaries.
Anyway, I coated with inside of my jar with watered down white acrylic paint. Then I punched out snowflakes so I could use the larger negative piece for a template. I used Staz-On ink in blue and purple and sponged on the ink through the template so I could get the snowflakes. Let dry well. I wiped the jars with a damp cloth after they were dry, and the staz-on stayed.
I think red, pink and purple hearts sponged on the white jar would be pretty. Or you could use a watered down red acrylic paint for the inside and sponge white hearts on the outside.
Hope this has inspired you to make your own luminaries.
Thursday, January 17, 2013
Christmas Luminary
I realize it's been some time since I last posted. Sometimes life just gets in the way, you know what I mean?
Anyway, I made some of my luminaries for Christmas, and wanted to show them to you before I put them away until next year.
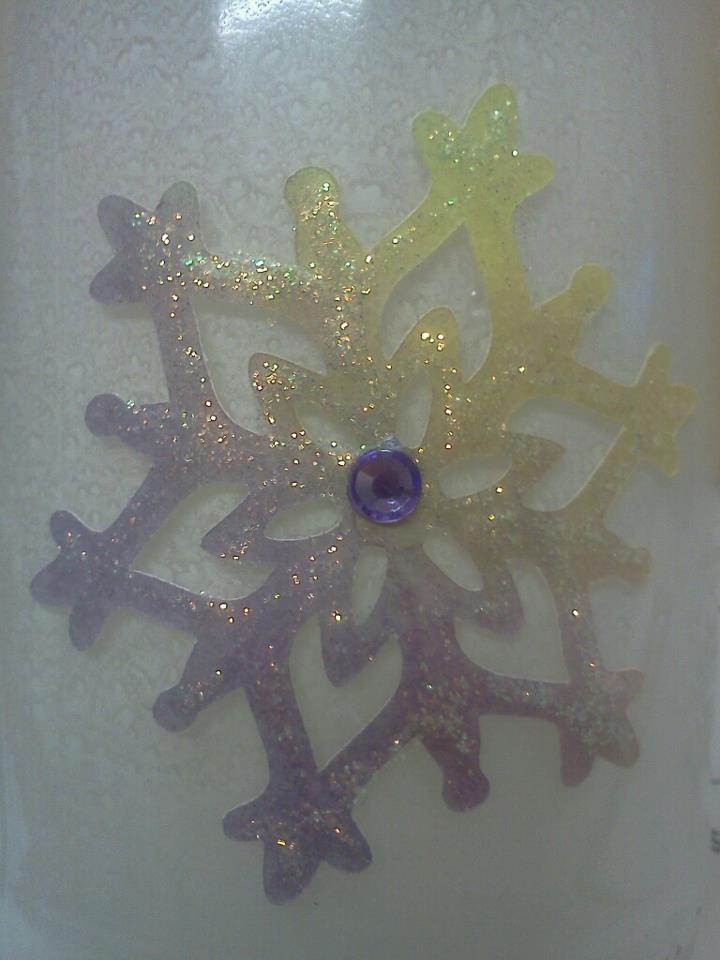
Die cut the snowflakes, added glitter and gems.
Close up of the snowflake
These were made by coating the inside of the jar with thinned white acrylic paint. Then I diecut the snowflakes, added glitter gems and adhered to the outside of the jar.
I have another to share, made another way, so I will take pics and post tomorrow.
Hope you like them.
Subscribe to:
Posts (Atom)